Headlight Restoration: A Guide for Beginners
Why Headlight Restoration is Important
Driving with foggy or yellowed headlights can significantly reduce visibility and safety on the road. Over time, exposure to sunlight and environmental factors can cause headlights to become cloudy, affecting their performance. Restoring your headlights not only enhances the look of your vehicle but also improves your nighttime driving safety.
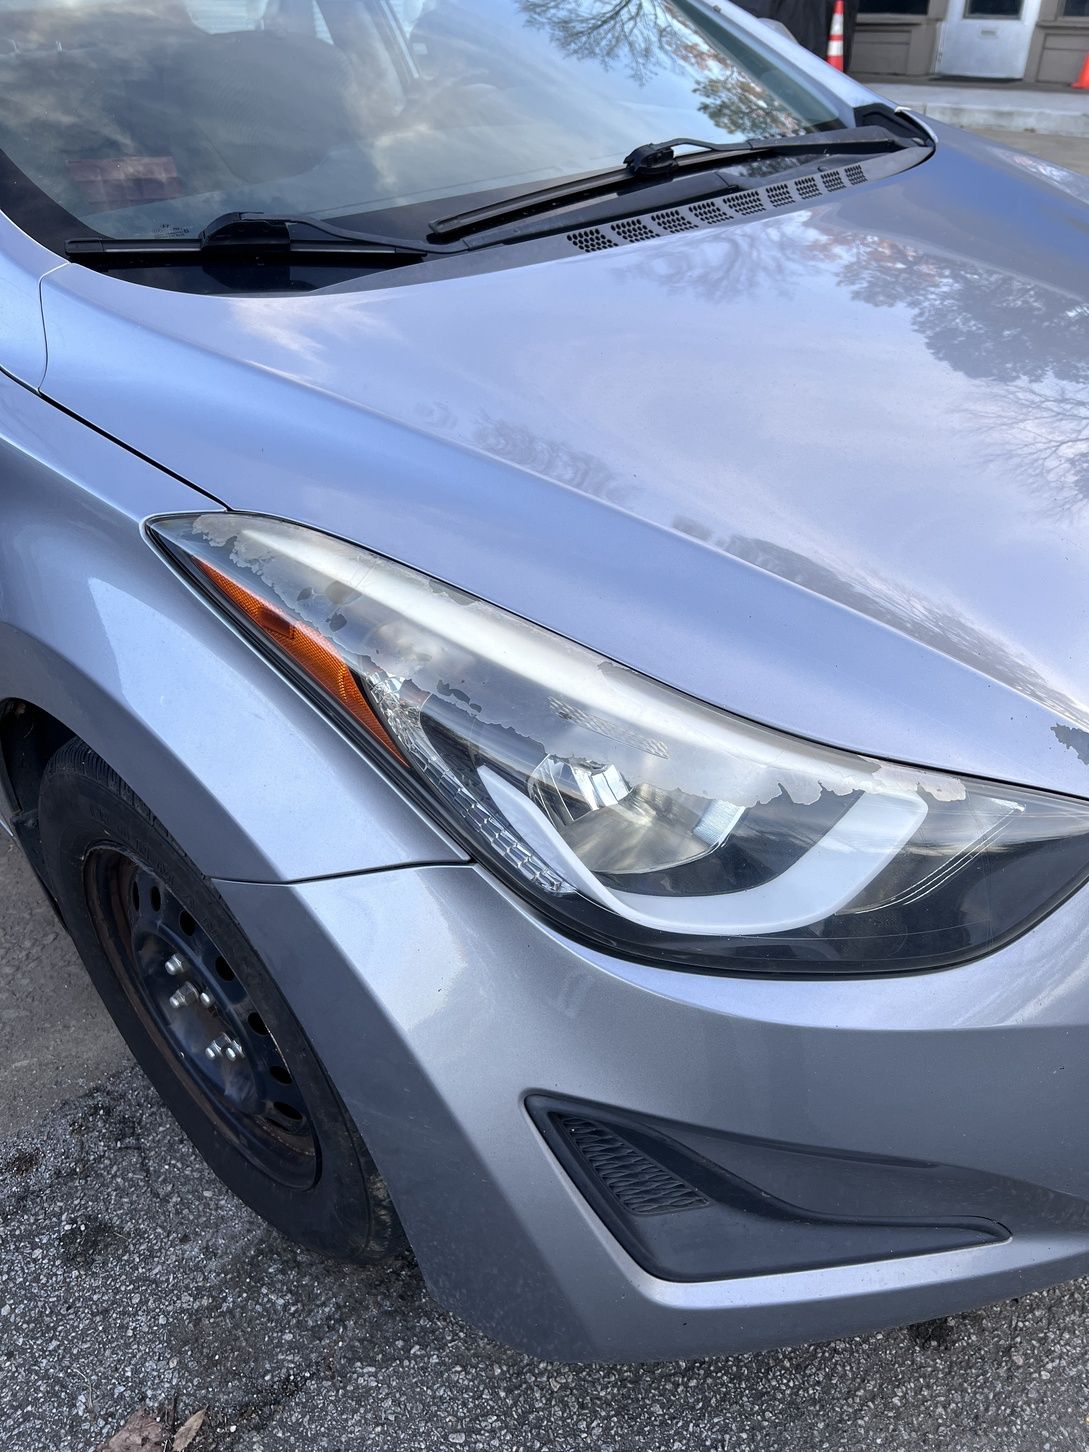
Gather Your Materials
Before you start the restoration process, gather all the necessary materials. You'll need:
- Sandpaper (grit range: 320 to 1000 grit)
- Microfiber towels
- Masking tape
- UV Coating sealer
Preparing Your Headlights
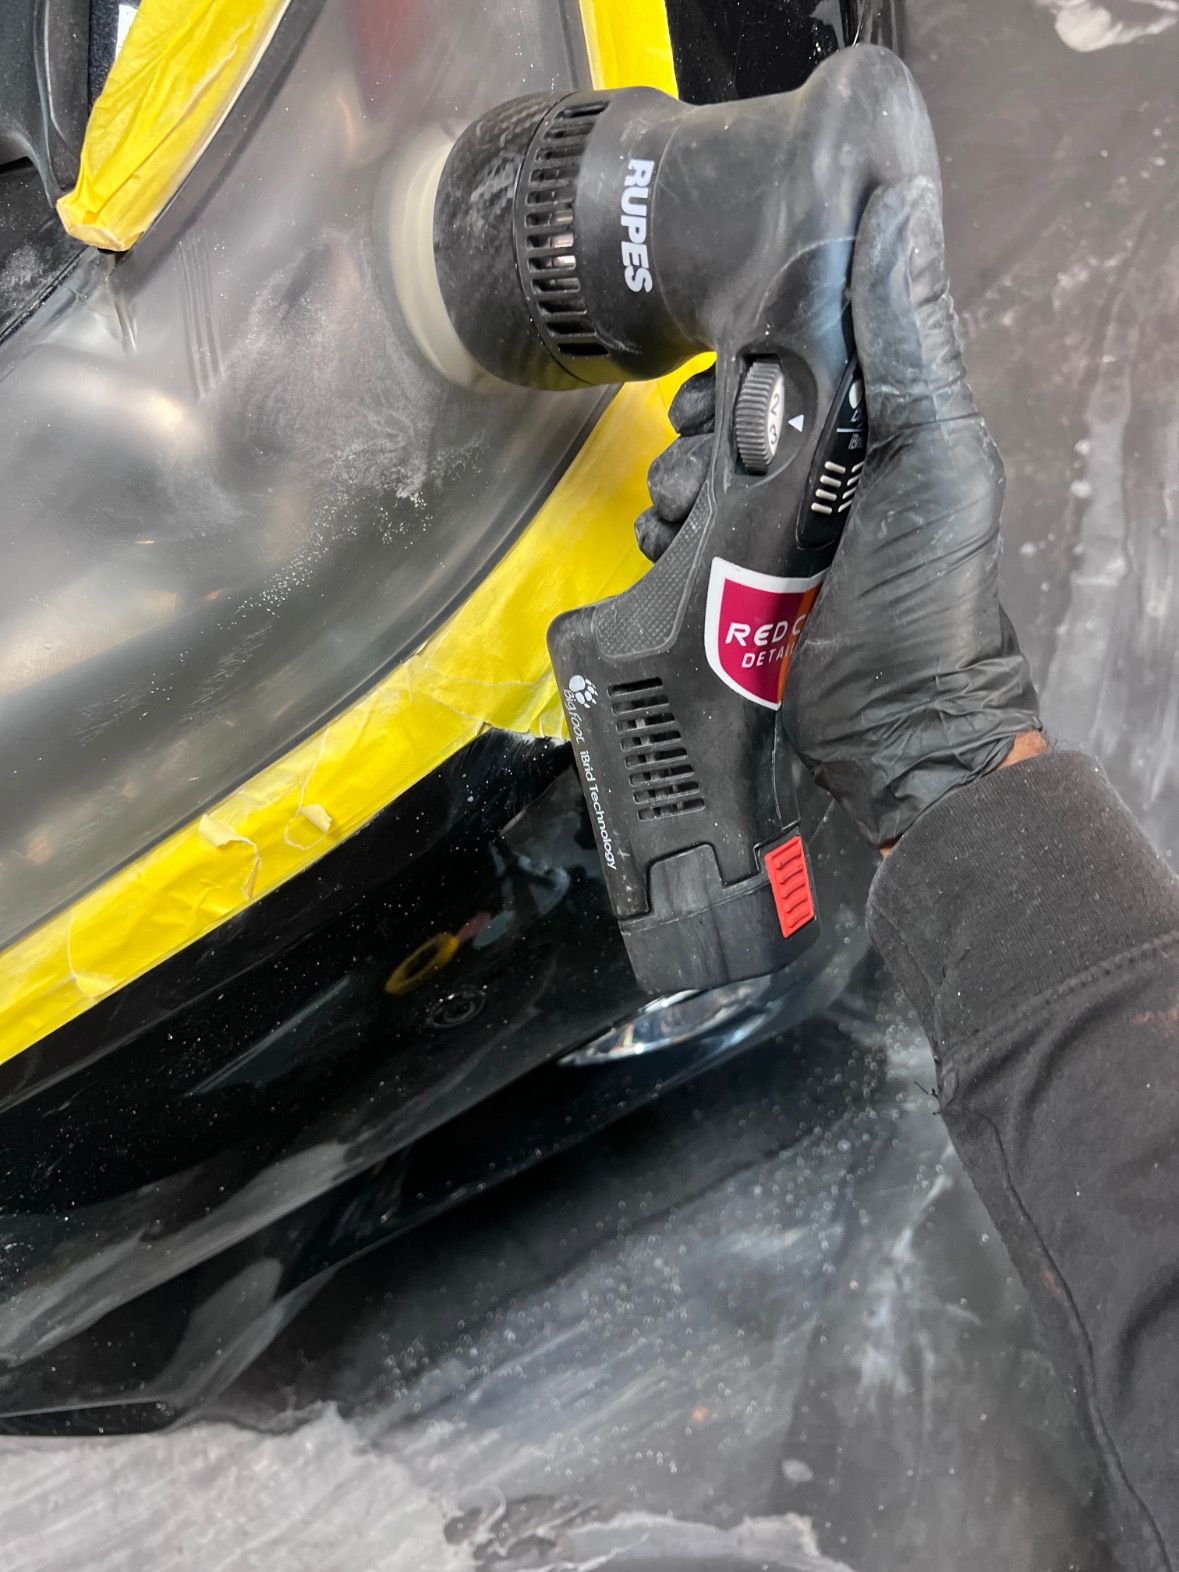
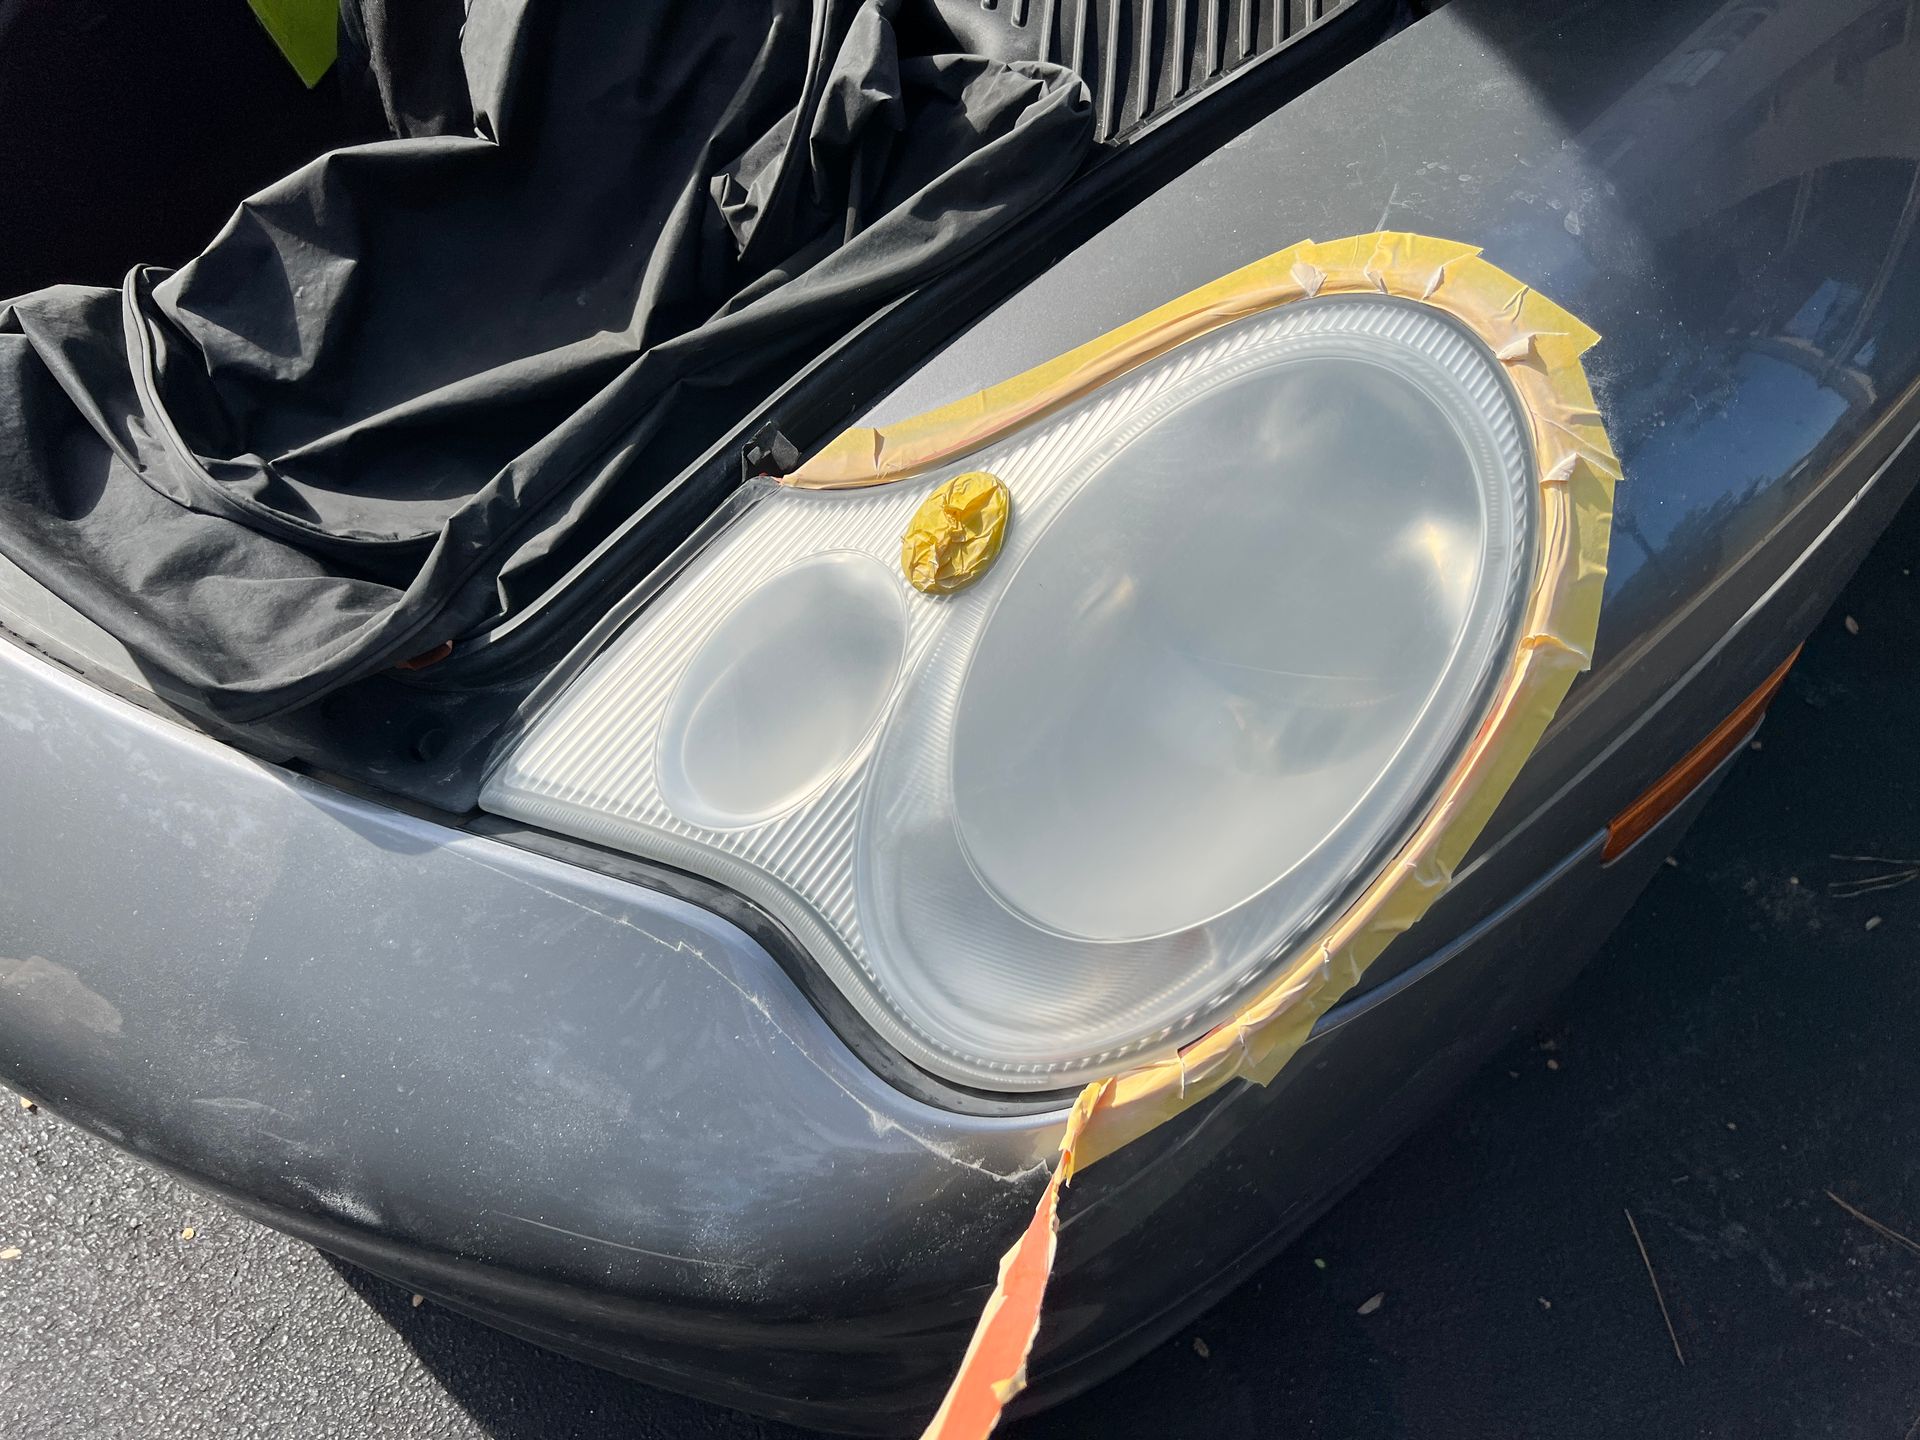
Begin by cleaning your headlights with soap and water to remove any dirt and debris. Thoroughly wipe lens dry with a microfiber cloth. Spray lens with a degreaser. This step helps break down soem tof the yellow film. Wipe away all the corrosion and dry lens. Once clean, use masking tape to protect the paint and plastic trim around the headlights. This protecvts those areas from damage by the sandpaper. It is a good practice to add at least three layers. The sandpaper will cut into the tape top layer.
The Sanding Process
Starting with the coarse 320 grit paper, sand in small sections of the headlight at a time. Using dry sanpaper, move in horzontal and vertical directions. Gradually move to finer grits from 320 to 600 up to 1000 grit. With the finer paper you will notice the surface get smoother and more clear. It important to remove all of orignal factory coating during the 320 grit step. Otherwise you will see the coating when applting the vapor sealant.
Polishing the Headlights
At Red Clay Detailing, polishing is not neccesary. The vapor sealing process restores clarity without polishing.
Applying a Vapor Sealant
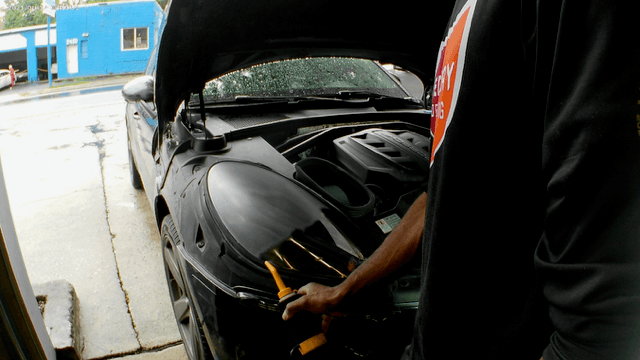
Upon completing the sadning process, the haze must be removed from the lenses. The beauty of the vapor sealant is it clears the lens will adding protection. It is highly recommemnded to work in a pattern acros the lens. Be sure to watch for drips from the vapor tube. Any excess liquid will appear as a glob and must be sanding to remove form light.
Maintaining Your Restored Headlights
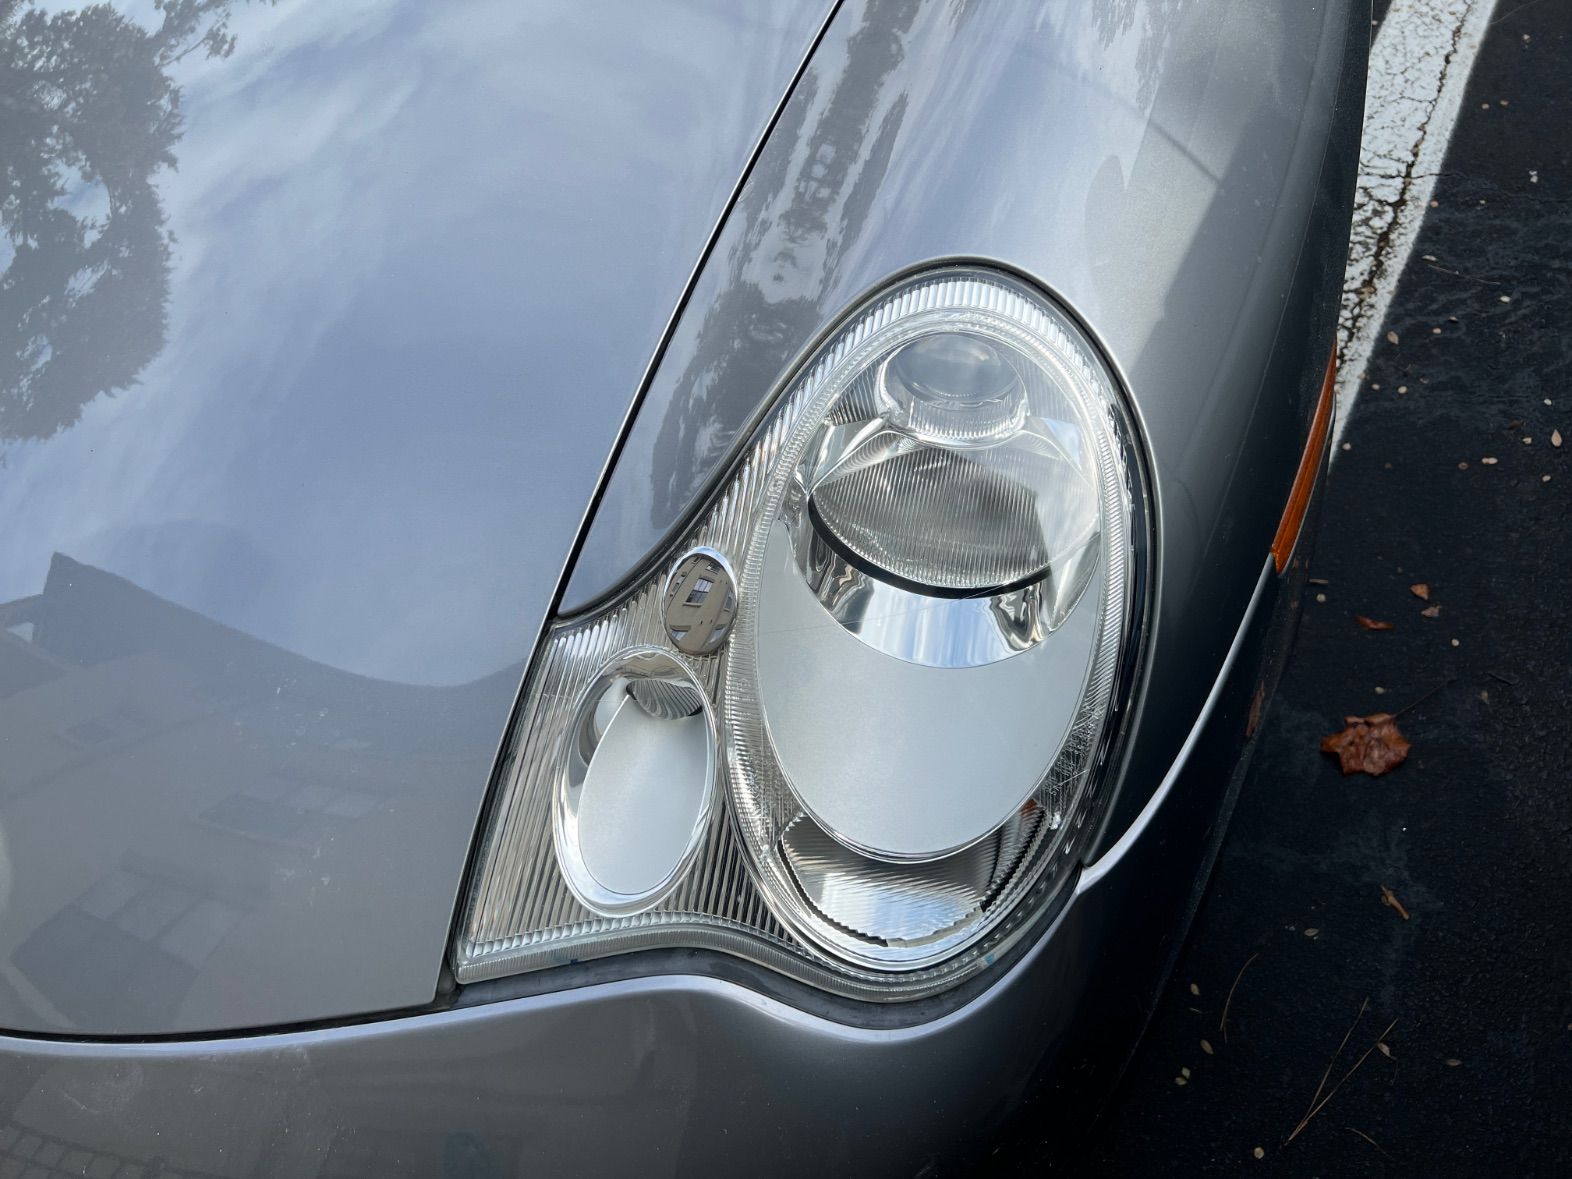
To keep your headlights looking clear and bright, clean them during with regular car washing. A few days after seling the light, apply a spray wax or sealant on the headlight. This will add another layer of UV protection.
Conclusion
Headlight restoration is a cost-effective way to improve both the appearance and safety of your auto mobile. By following these steps, beginners can achieve professional-looking results. Regular cleaning and protection will ensure your headlights stay clear over the. long haul.
